
How to Use NBI Online Registration in 2026 Without Stress
If you’re looking to apply for an NBI Clearance in the Philippines, it’s good to know that most of the process can now be done online. This saves you time and avoids the hassle of waiting in long lines. In this guide, I’ll walk you through NBI online registration in 2026, providing you with simple, easy-to-follow steps. Let’s make this process as smooth as possible for you.
Why Use NBI Online Registration?
NBI online registration is designed to make your clearance application faster and easier. You can complete most steps — like filling out your information, scheduling an appointment, and paying the fee — all from your phone or laptop. This reduces the time you spend at the NBI office, and it helps keep everything organized.
NBI Online Registration – Steps
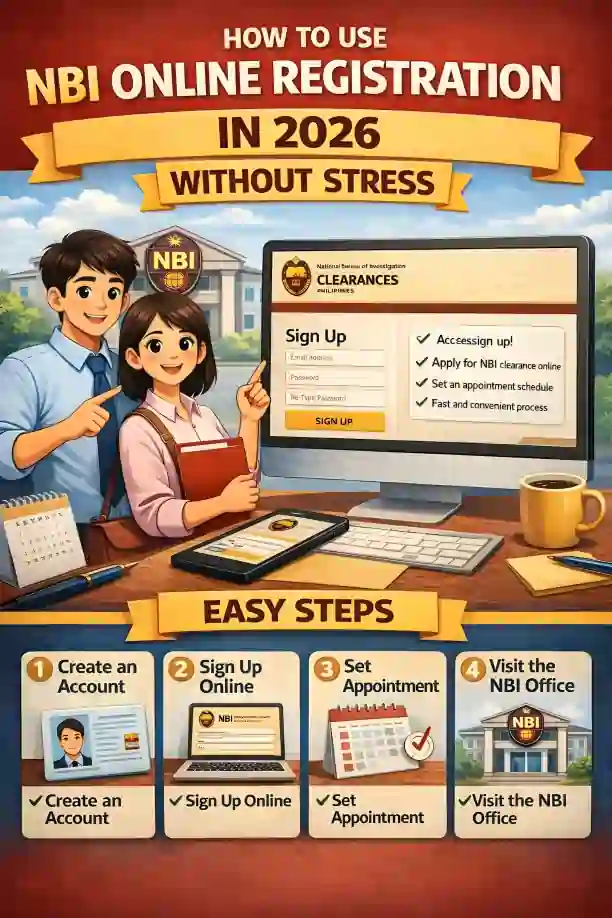
The first thing you need to do is visit the official NBI online portal. Make sure you’re using the official site to keep your personal information safe and ensure the system accepts your application. Once you’re there, you’ll see options to either log in or register a new account.
If this is your first time applying for an NBI clearance, you need to create an account. Click the Register button and enter the required details like:
- Full name
- Date of birth
- Email address
- Mobile number
Choose a strong password that you will remember. After signing up, the system will send a verification code to your email or phone to confirm your account.
Tip: Use an email address you check regularly since all updates and notifications about your application will be sent there.
Once your account is verified, log in using your email and password. After logging in, you can begin your application by clicking the option to apply for a new clearance.
You’ll need to provide your personal information carefully. Be sure that your name, birthdate, and address match exactly with the details on your valid ID to avoid issues later.
Tip: Double-check your information before submitting to prevent mistakes that might delay your clearance.
After entering your details, you’ll be asked to select an appointment date and choose the NBI branch where you want to process your application. You cannot proceed without scheduling your appointment, so make sure to pick a time that works for you.
Tip: Choose a date with enough time to gather all your required documents, and don’t wait until the last minute.
Once you’ve scheduled your appointment, the system will show you the payment options and the amount to pay. You can pay online or at an authorized payment center.
After paying, keep a copy of your payment receipt or payment reference number, as you’ll need it when you go to the NBI office.
Tip: Take a screenshot or print a copy of your payment confirmation to avoid losing it.
Remember to bring:
- Your valid IDs
- Your payment receipt or reference number
- Your appointment confirmation
Once you arrive, you’ll go through biometric capture — where they’ll take your photo and fingerprints — as part of the NBI clearance process.
Tip: Arrive early, even though you have an appointment, to avoid delays.
After your biometric data is captured, the system will check your records. Most people receive their NBI clearance on the same day if there are no issues with their details. If there is a match with someone else’s records (a “hit”), you might need to return for further verification.
Tip: If you get a “hit,” don’t panic. Just follow the instructions provided by the NBI.
Stress-Free Tips for NBI Online Registration
To make the registration process even easier, here are a few tips:
Double-check your name format:
The name you enter should match exactly what’s on your valid ID.
Save your confirmation and payment receipts:
Always take a screenshot or print them out to keep them safe.
Check your preferred NBI branch:
Make sure the branch you choose is convenient for you and has available slots.
Don’t wait until the last minute:
Try to schedule your appointment well in advance to avoid rushing.
FAQ’s
Final Words
NBI online registration in 2026 is a convenient and efficient way to apply for your clearance. With just a few simple steps — registering your account, filling out the application, scheduling your appointment, paying the fee, and visiting the branch — you’ll have your clearance in no time.
By following these easy steps and being prepared, you can ensure the whole process goes smoothly and without stress.


